
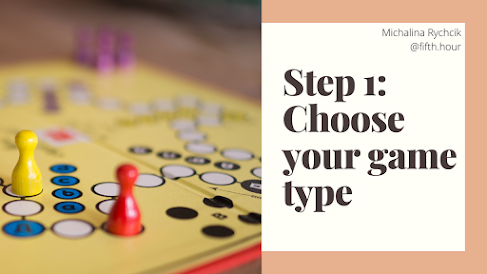
How to Design Your Own Board Game in 6 Steps?
Board games are not only a fun way to spend time with friends, but also a fantastic tool for your classroom! Students love them, so why wouldn't we use them? However, if you're familiar with this concept, you might be bored with the games you own. So how about making a brand new one? And possibly engaging your students into this process? Let me guide you through it step by step!
So think about the games you know and love and decise which features would work in your project. You may invite your students to brainstorm some ideas as well.
Is it:
- a Monopoly-style game with a trading system?
- a card-based game?
- something simple like Snakes and Ladders?
- a strategy Risk-style game?
- a game with an element of Trivia?
- a puzzle in which you play as a detective just like in Cluedo?
Those are just some of the ideas I came up with now, but there is a huge list of existing board games on Wikipedia. Google that and don't be afraid to use it!
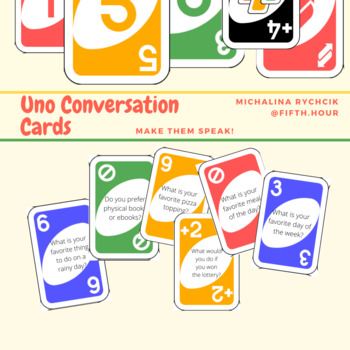
I decided to go for something very simple for the sake of this post. I'm going to create a trivia-style game with a simple trading system so it's not too boring. I'm planning on using this game as a revision for one of my groups. And surprise! You can use it too! Keep reading and you'll find out how to download it for FREE!


Let me guide you through this chaos!
I started with drawing the base of the board (no fancy decor, just some squares). I wanted to go for one big board and two smaller ones. The players will use the teleports to move between them. But it's not free! To use the first teleport, you have to collect 25 coins, 15 for the second one and 10 on the last board. Therefore, to win, you have to have collected 50 coins in total.
Having established the goal of the game, I had to come up with a way of collecting the coins. I decided to go for a couple different options to choose from (or to use at once):
- C - collect one coin. When you stand there, you simply get a coin. There is also one C2 square which allows you to collect two coins. I added some L squares, where you lose one coin.
- Q - answer the question for one coin. Here, the players will have to answer a general question about something we did in this unit.
- V - vocabulary question for one coin.
- G - grammar question for one coin.
- D - difficult question for one ticket.
Talking about tickets... I didn't want to limit myself to coins only and included a simple trading system. Therefore, we have:
- R - collect one ticket, which is worth 3 coins.
- TR - trading. Here, you may exchange two coins for a ticket.
- M - market. Here, you can sell your tickets for 3 coins each.
There are also the transportation squares, such as:
- S1, S2, S3 - starting points on each board.
- T1, T2 - teleports.
- F - finish.
And basically, those are all of my rules. As I said, the game is quite simple (even though, it may seem difficult looking at my crazy notes), because the goal of it is to review the material from class. I don't want my student to spend too much time learning the rules!

Draw the game on paper, prepare some pieces prototypes and try to play the game (alone or with a friend of yours). At this point, you can still make changes with no major damage to your work.


Here are mine:

 And your game is finished! Happy playing!
Not to make it confusing, I went for the same symbols as on the boards.
My game requires some trivia questions in four categories: general, difficult, vocabulary and grammar. I'm not writing them now, because I don't really need them now. Also, you probably wouldn't be able to use them. As I said, I'm planning on using it as a revision in one of my groups.
If you liked the game we created here together, click here to download it for FREE. You can leave me a review on my TPT store to say thank you ;).


Komentarze
Prześlij komentarz